
How-To
How to Install an eSIM on iPhone
Travelesim Editorial6 min read
A calm walkthrough of QR and carrier install flows, plus the Dual SIM settings that matter once you land.
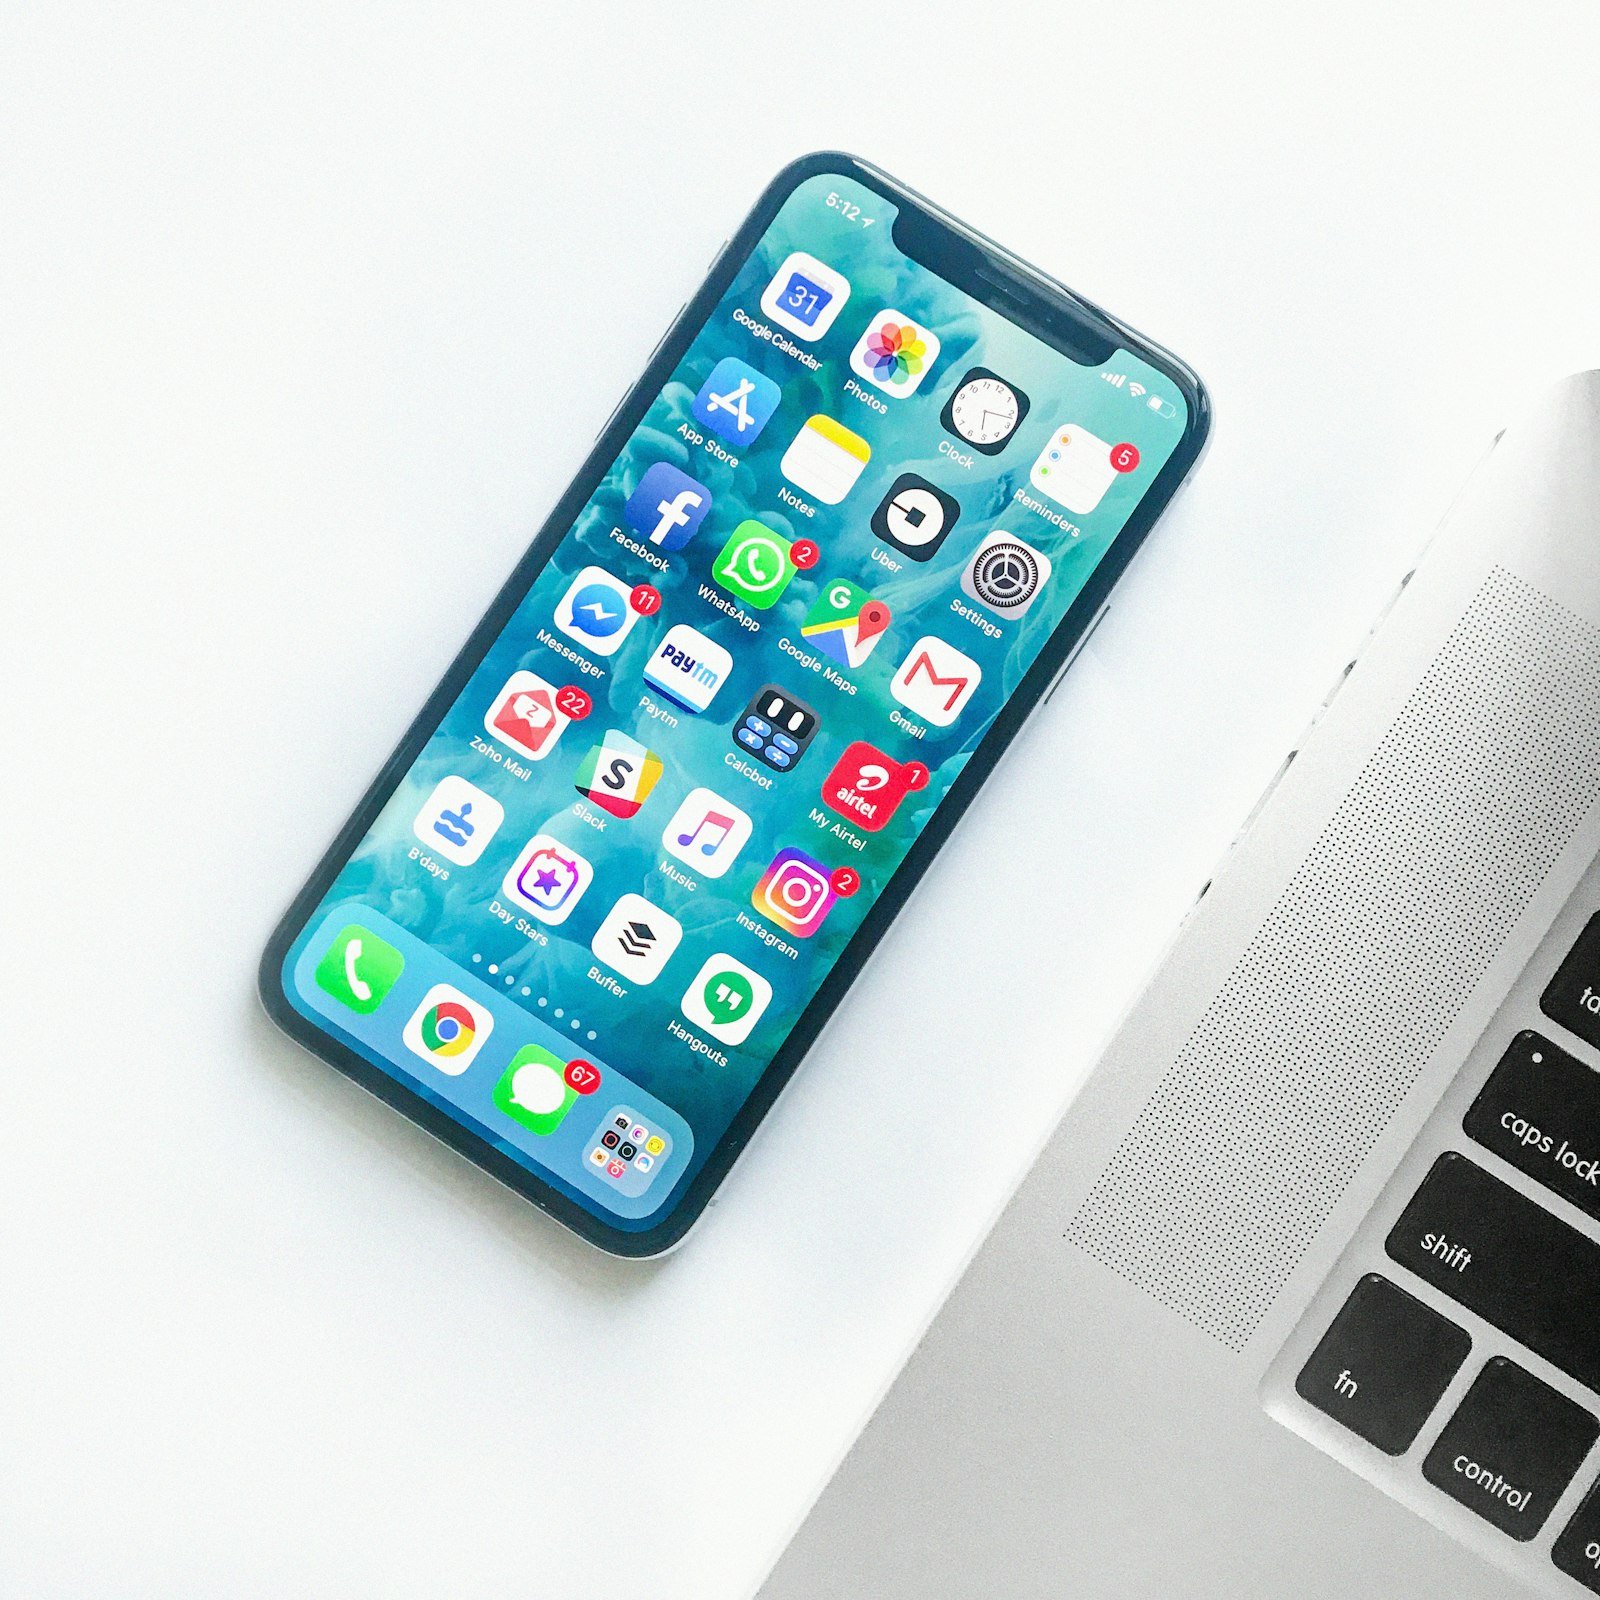
Most travel eSIM apps either open an install prompt directly or give you a QR code. On iPhone, both paths end in Settings → Cellular. Do this on reliable Wi‑Fi when you can.
Basic install path
- Open your provider app or email QR instructions
- Follow Cellular → Add eSIM (wording varies by iOS version)
- Label the new line something obvious like “Japan data”
- Keep your primary line for calls/SMS if needed
- Set the travel eSIM as the Mobile Data line when you arrive
If install fails
Confirm your iPhone model supports eSIM, that the device is unlocked, and that you have a stable connection. Then contact the provider with your order details rather than buying a second plan immediately.